How To Generate a Provisioning Profile Certificate
Creating a Provisioning Profile Certificate on your Apple Developer account is a multi-step process essential for building and distributing iOS applications.
Here's a detailed guide on how to do it:
1. Accessing Apple Developer Account
Sign In: Go to the Apple Developer website and log in with your Apple ID.
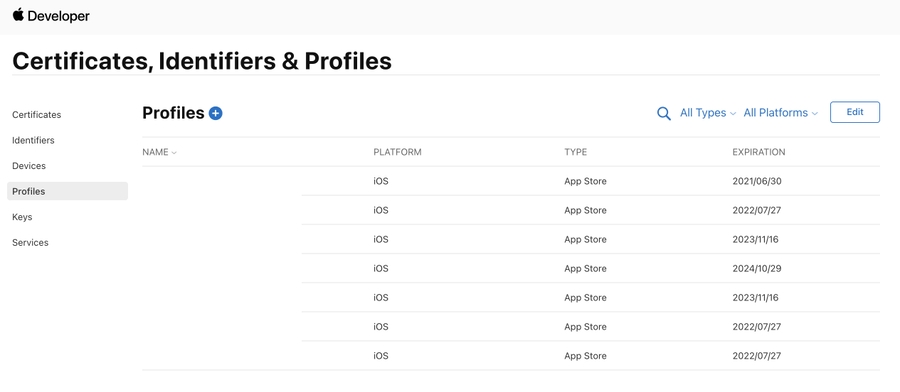
Navigate to Certificates, Identifiers & Profiles: This section is where you manage your certificates and provisioning profiles.
2. Create a Certificate Signing Request (CSR)
Use Keychain Access on Mac: Open Keychain Access on your Mac.
Request a Certificate: In Keychain Access, choose “Certificate Assistant” then “Request a Certificate From a Certificate Authority…”.
Input Your Email: Enter the email associated with your Apple Developer account.
Save to Disk: Save the CSR file to your local machine.
3. Create a New Certificate in Apple Developer Account
Add a New Certificate: In the Certificates section of your Apple Developer account, select “Add (+)” to create a new certificate.
Upload CSR: Choose the appropriate certificate type (e.g., iOS App Development) and upload the CSR you generated.
4. Generating the Certificate
Approval: Apple will process the CSR and issue a certificate.
Download the Certificate: Once approved, download the certificate to your Mac.
Install the Certificate: Double-click the certificate to install it in your Keychain.
5. Create an App ID
Navigate to Identifiers: Go to the Identifiers section in your Apple Developer account.
Add New App ID: Select “Add (+)” and enter details such as your app’s name and Bundle ID.
6. Create a Provisioning Profile
Provisioning Profiles Section: Go to the Provisioning Profiles section.
Add a New Profile: Click “Add (+)” and select the type of provisioning profile you need (e.g., iOS App Development).
Select App ID: Choose the App ID you created for your app.
Select Certificates: Choose the certificate you created earlier.
Add Devices: For development profiles, add the devices you want to test the app on.
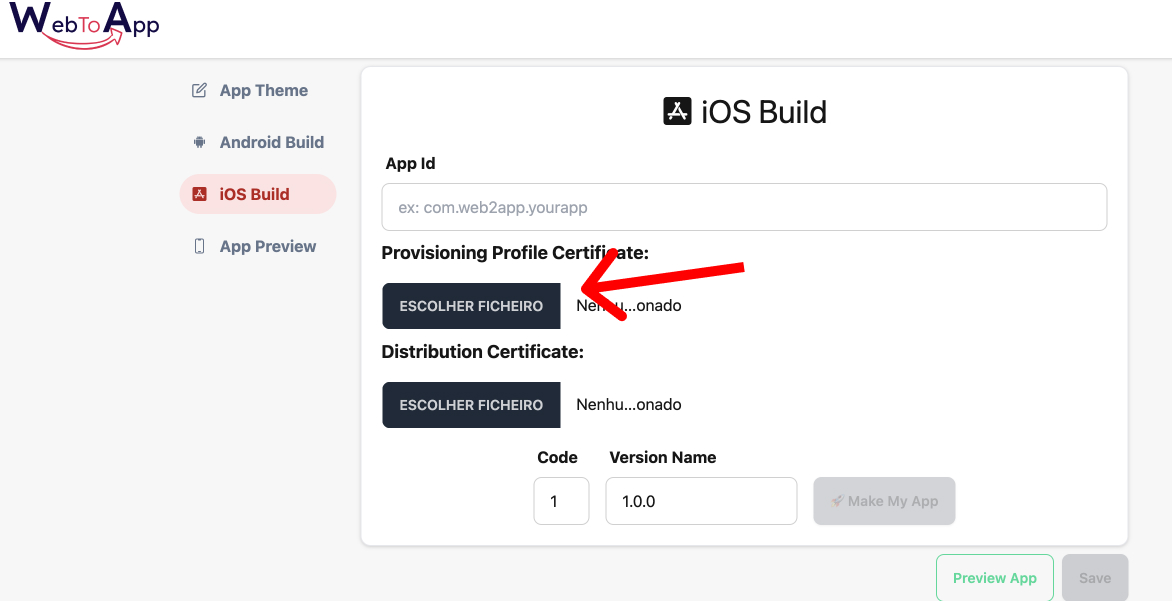
7. Upload the certificate in your iOS Build
Download: Once the profile is created, download it to your Mac.
Upload the file in: Provisioning Profile Certificate
Creating a Provisioning Profile Certificate is crucial for iOS app development and distribution. This process, involving several steps from creating a CSR to configuring your project in Xcode, requires careful attention to detail to ensure a smooth app development and deployment process.
Always keep your certificates and profiles updated and in sync with your development and distribution needs.
Last updated
Was this helpful?