Step 3: Run and Publish Your iOS App
This tutorial will guide you how to run your iOS App in your own Mac under the simulator of the Xcode tool.
Our WebToApp.app platform will create and iOS App project for you. In order to run your iOS App, Apple requires you to have a Mac computer with the Xcode installed on it. The Xcode is the primary development tool of Apple for developing applications for the Apple products.
Unfortunately, Apple released this tool for the Mac OSs only and there is no legitimate way to install it on Windows / Linux PCs. You can install the Mac OS under a Virtual Machine (such as Virtualbox) under Windows or Linux OSs and then install the Xcode on it, but this way is less recommended.
Requirements:
Here are the stages in order to compile and run your iOS App under the simulator of the Xcode of your Mac.
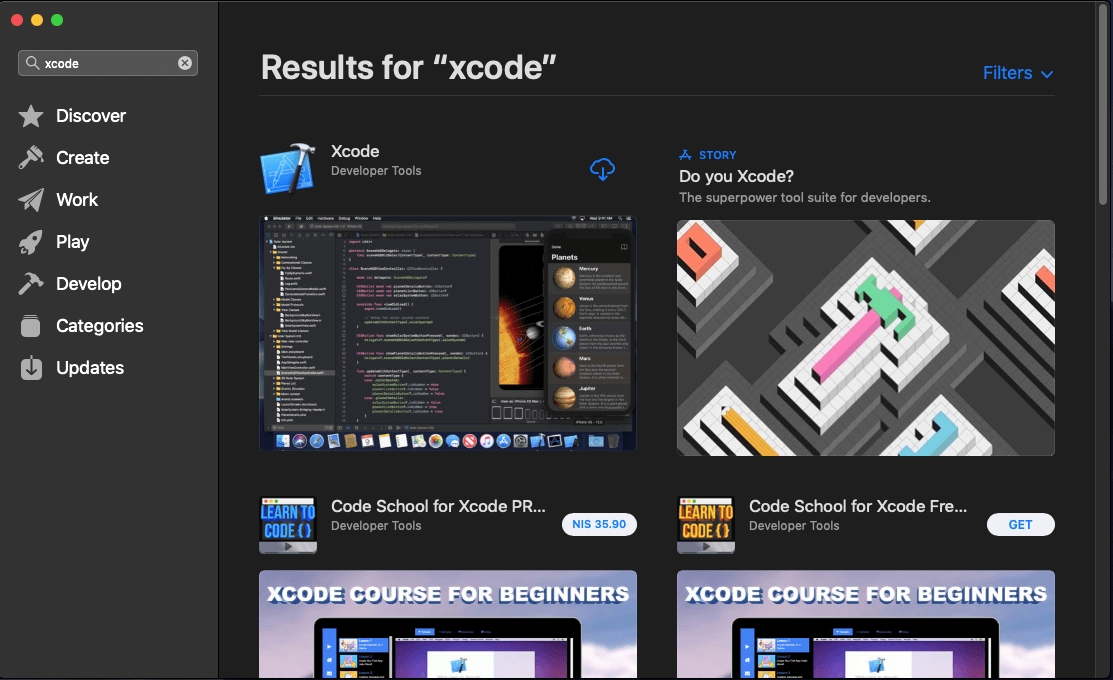
Download and install the Xcode from the Apple App Store. After the download and the installation finished, click on the 'Open' button in order to open the Xcode for the first time. When running the Xcode for the first time the development environment will install more additional tools such as the xcode command line tools and more.

Download and extract your iOS App anywhere in your machine, for instance your Desktop. (You can find a link to the iOS App Project in the iOS Build
Install the CocoaPods:
$ sudo gem install cocoapods -n /usr/local/binNow you can install all the pods running this command in the root of the folder of the iOS App Project (downloaded and extracted in the previous step)
$ pod installOpen the directory of your iOS App Project with the Finder, then open the generated .xcworkspace file (not the .xcodeproj file) with the Xcode.
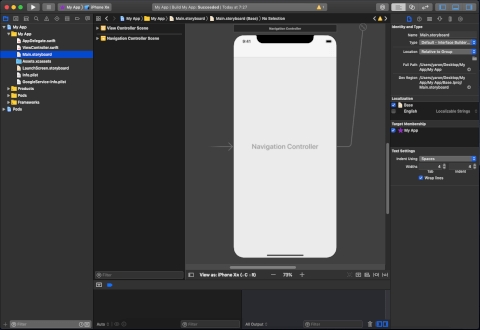
The Xcode will open your iOS App and will do some things in the background in order to run your App for the first time.

That's it, now you can click on the play button, the Xcode tool will open the iPhone simulator and will run your iOS App on it.

You can follow this guide to finalize you app configuration and submit to your App Store account: How to Submit Your App to the App Store
If you need any help, feel free to contact us: [email protected]
Last updated
Was this helpful?